Unveiling Spatial Patterns: A Comprehensive Guide To Heat Maps In ArcGIS
Unveiling Spatial Patterns: A Comprehensive Guide to Heat Maps in ArcGIS
Related Articles: Unveiling Spatial Patterns: A Comprehensive Guide to Heat Maps in ArcGIS
Introduction
With great pleasure, we will explore the intriguing topic related to Unveiling Spatial Patterns: A Comprehensive Guide to Heat Maps in ArcGIS. Let’s weave interesting information and offer fresh perspectives to the readers.
Table of Content
Unveiling Spatial Patterns: A Comprehensive Guide to Heat Maps in ArcGIS
In the realm of spatial analysis, understanding the distribution and density of phenomena across geographic areas is paramount. Heat maps, a powerful visualization tool within ArcGIS, offer a compelling way to represent this spatial data, transforming raw data into insightful visual narratives.
Understanding the Essence of Heat Maps
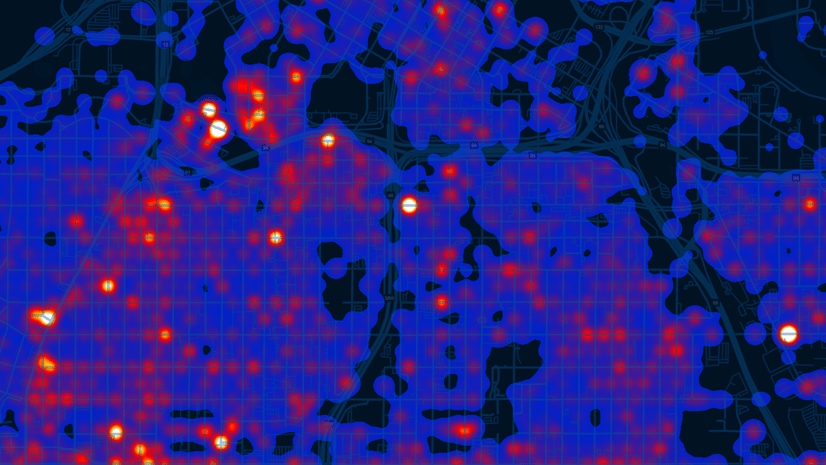
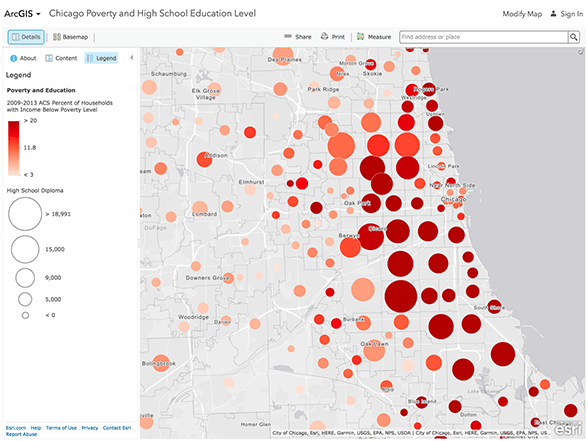
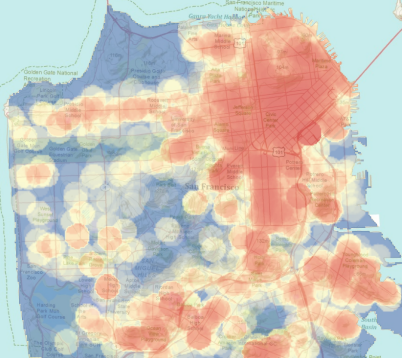
Heat maps, also known as density maps or intensity maps, are visual representations that depict the concentration or density of a particular phenomenon within a geographic area. They achieve this by using color gradients, where darker shades indicate higher concentrations and lighter shades represent lower concentrations. This color-coded approach effectively translates complex data into easily interpretable visual patterns.
The Role of ArcGIS in Heat Map Creation
ArcGIS, a leading Geographic Information System (GIS) software, provides a robust platform for creating and analyzing heat maps. Its diverse range of tools and functionalities empower users to generate informative and visually appealing heat maps from various data sources.
Key Steps in Creating Heat Maps in ArcGIS
Creating a heat map in ArcGIS involves a series of steps that ensure accurate and meaningful visualization:
-
Data Preparation: The first step involves preparing the data for analysis. This may include cleaning, transforming, and organizing data points representing the phenomenon of interest.
-
Defining the Study Area: The next step involves defining the geographic area for which the heat map will be generated. This could be a city, a region, or even a global scale.
-
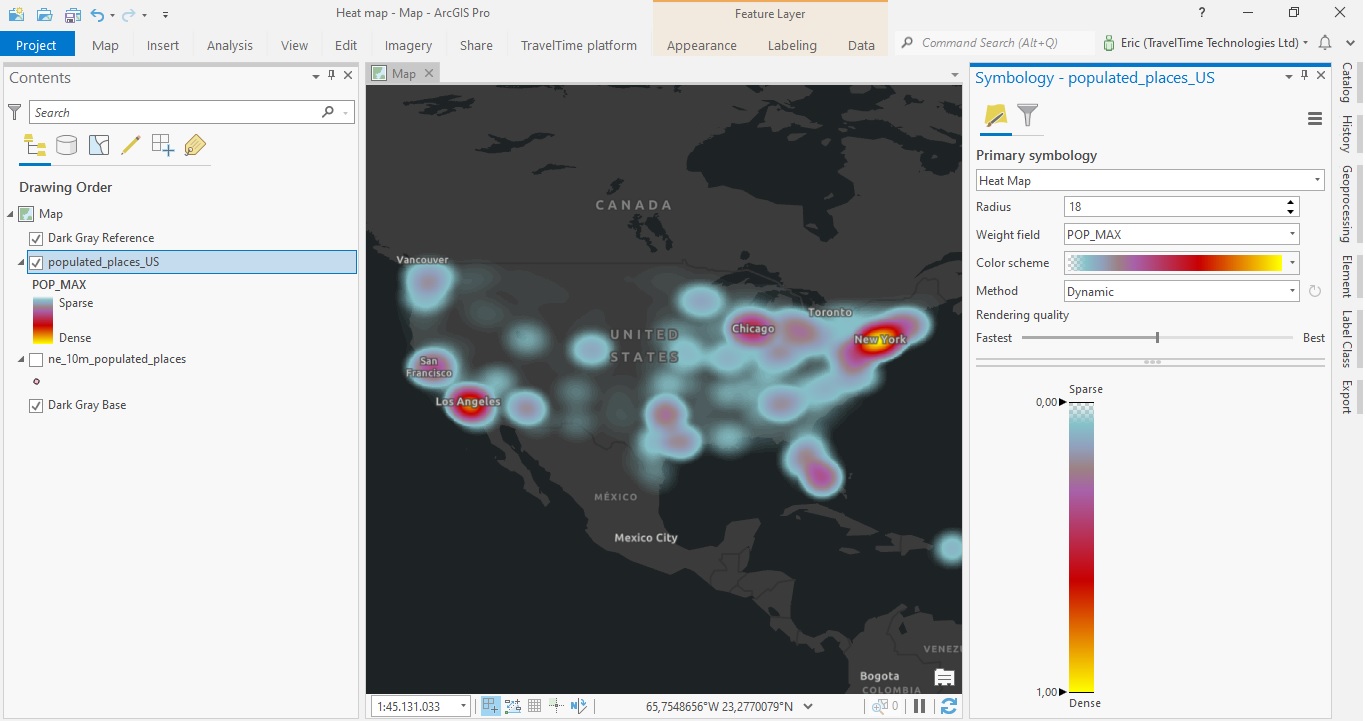
Selecting the Appropriate Heat Map Method: ArcGIS offers multiple methods for generating heat maps, each with its own strengths and limitations. Common methods include:
-
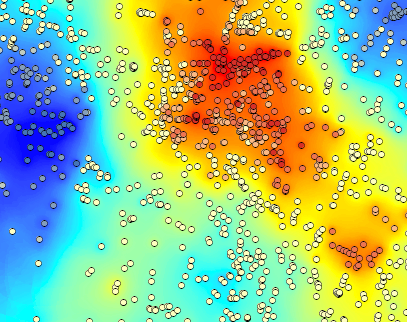
Kernel Density Estimation: This method calculates the density of points by smoothing the data using a kernel function. It produces a continuous surface that reflects the spatial distribution of the data.
-
Gridded Data: If the data is already gridded, ArcGIS can directly use the grid values to generate a heat map. This method is suitable for data that has been pre-processed or collected as gridded data.
-
Point Density: This method simply counts the number of points within each grid cell and uses the count to determine the color intensity. It offers a straightforward approach to visualizing point density.
-
-
Adjusting Parameters: Once the heat map method is selected, users can adjust various parameters, such as the smoothing radius, the color ramp, and the transparency of the map. These adjustments can refine the heat map to effectively highlight the desired patterns.
-
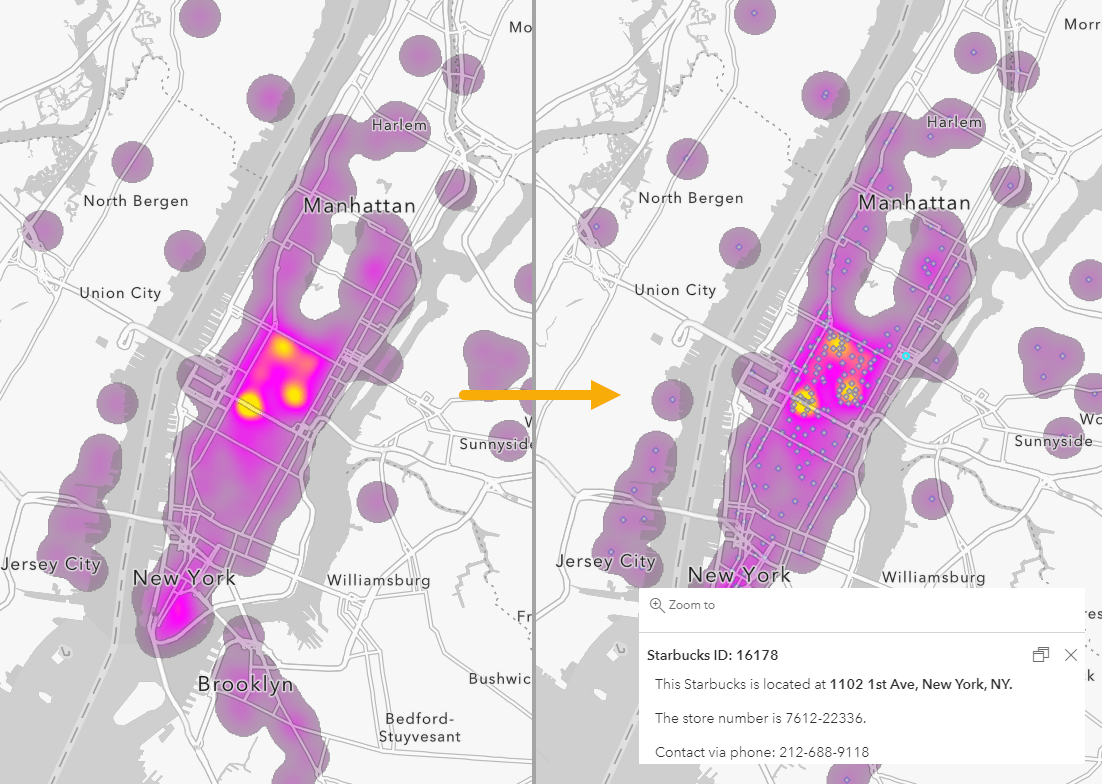
Visualizing and Interpreting the Results: The final step involves visualizing the generated heat map and interpreting the results. Heat maps can reveal patterns, hotspots, and areas of low concentration that may not be apparent from raw data alone.
Benefits of Using Heat Maps in ArcGIS
Heat maps offer a multitude of benefits for spatial analysis and decision-making:
-
Data Visualization: Heat maps provide a clear and intuitive way to visualize spatial data, making complex patterns easily understandable.
-
Trend Identification: By revealing areas of high and low concentration, heat maps enable the identification of trends, hotspots, and areas requiring further investigation.
-
Decision Support: Heat maps serve as valuable decision-support tools by providing insights into the spatial distribution of phenomena, informing strategic planning and resource allocation.
-
Communication and Collaboration: Heat maps facilitate effective communication of spatial information to stakeholders, fostering collaboration and informed decision-making.
Applications of Heat Maps in Diverse Fields
Heat maps find applications across a wide range of fields, including:
-
Urban Planning: Analyzing population density, crime rates, and service access to inform urban planning decisions.
-
Environmental Management: Mapping pollution levels, wildlife distribution, and habitat suitability for conservation efforts.
-
Epidemiology: Visualizing disease outbreaks, identifying high-risk areas, and guiding public health interventions.
-
Marketing and Sales: Mapping customer locations, identifying market potential, and optimizing sales strategies.
-
Traffic Analysis: Visualizing traffic congestion, identifying bottlenecks, and optimizing traffic flow.
Frequently Asked Questions (FAQs) about Heat Maps in ArcGIS
Q: What types of data can be used to create heat maps in ArcGIS?
A: ArcGIS supports various data types for heat map creation, including point data, polygon data, and raster data.
Q: How can I adjust the smoothing radius in a heat map?
A: The smoothing radius, a parameter in kernel density estimation, controls the level of smoothing applied to the data. A larger radius creates a more generalized heat map, while a smaller radius results in a more detailed map.
Q: What is the difference between kernel density estimation and point density?
A: Kernel density estimation provides a continuous surface that reflects the spatial distribution of data, while point density simply counts points within each grid cell.
Q: Can I customize the color ramp used in a heat map?
A: Yes, ArcGIS allows you to customize the color ramp, selecting from a range of pre-defined palettes or creating your own custom color scheme.
Q: How can I export a heat map from ArcGIS?
A: You can export a heat map in various formats, including image files (PNG, JPG), PDF, and shapefiles.
Tips for Creating Effective Heat Maps in ArcGIS
-
Choose an appropriate color ramp: Select a color ramp that effectively contrasts areas of high and low concentration.
-
Adjust the smoothing radius: Experiment with different smoothing radii to find the optimal level of detail for your data.
-
Consider the map projection: Ensure that the map projection is appropriate for the geographic area being analyzed.
-
Add clear labels and legends: Include informative labels and legends to enhance the clarity and understanding of the heat map.
-
Use multiple layers: Combine multiple heat maps or other data layers to create a more comprehensive and insightful visualization.
Conclusion
Heat maps, a powerful visualization tool within ArcGIS, offer a compelling way to represent spatial data, transforming raw data into insightful visual narratives. By leveraging the capabilities of ArcGIS, users can create informative and visually appealing heat maps that reveal spatial patterns, trends, and hotspots. These insights can inform decision-making across diverse fields, driving effective planning, resource allocation, and problem-solving. As data-driven decision-making continues to grow in importance, heat maps will play an increasingly vital role in understanding and harnessing the power of spatial information.


Closure
Thus, we hope this article has provided valuable insights into Unveiling Spatial Patterns: A Comprehensive Guide to Heat Maps in ArcGIS. We thank you for taking the time to read this article. See you in our next article!